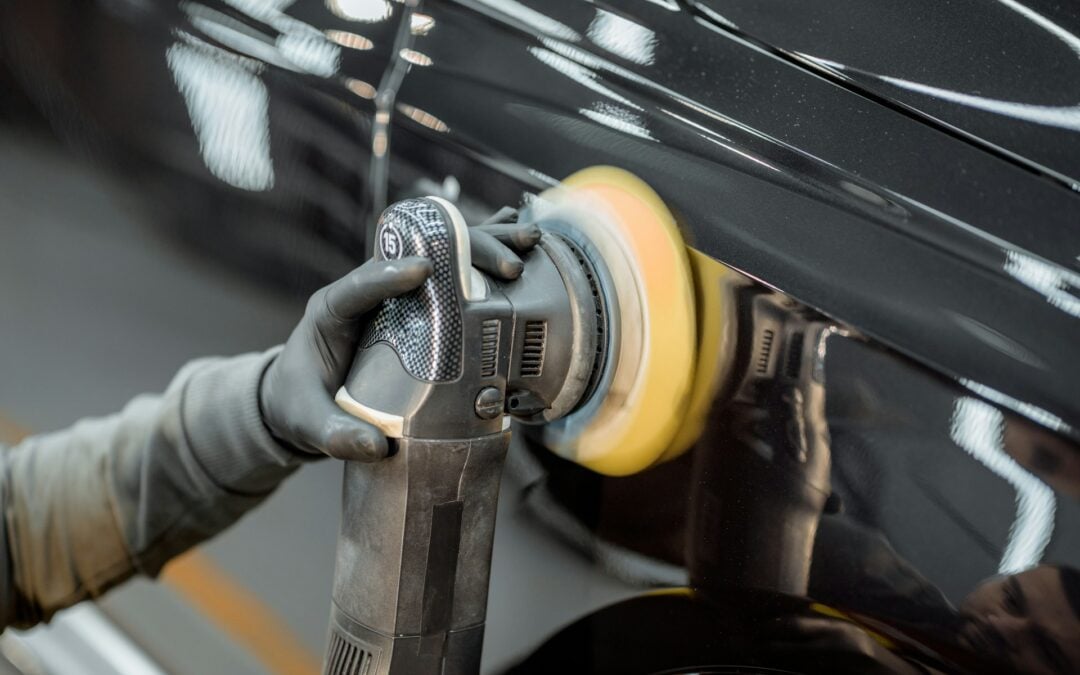
Detailing a car can make it look amazing and help it last longer. Doing it right means paying attention to small details and using the right tools. But it’s easy to make mistakes that could damage your car instead of helping it. Understanding what to avoid will keep your car looking fantastic and can even save you money.
People often overlook parts of the car or rush through tasks, thinking it won’t matter. However, mistakes in detailing can lead to scratches, faded paint, or even a stained interior. By knowing some common errors, you can take better care of your vehicle.
Whether you’re new to car detailing or have some experience, it’s always good to learn more. Identifying these common mistakes will help you improve your skills and keep your automobile in tip-top shape without any unnecessary hassle.
Skipping the Pre-Wash: Why It’s Important
Often, people skip the pre-wash step while cleaning their vehicles, thinking it’s unnecessary. But this simple step is crucial for effective vehicle detailing. Pre-washing helps remove loose dirt and debris from the car’s surface before you apply soap and water. By skipping this process, you might end up dragging dirt across the surface, causing scratches.
Why Pre-Wash Matters:
– Avoid Scratches: Pre-washing reduces the risk of scratches by removing grit that could be caught in your sponge or mitt.
– Better Cleaning: It ensures that cleaning products reach the grime stuck to the surface, improving overall effectiveness.
– Less Effort: Removing dirt beforehand makes the main wash easier and faster, saving you time and energy.
Pre-Wash Steps:
1. Rinse the Car: Use a garden hose or pressure washer to rinse off loose dirt and grime.
2. Foam Application: Apply a pre-wash foam or solution that loosens dirt for easier removal. Most auto stores carry suitable products.
3. Let It Sit: Allow the foam to sit briefly, breaking down the dirt before rinsing it off.
4. Rinse Again: Rinse again to clear away the loosened dirt.
Taking the few extra minutes to pre-wash can make your vehicle detailing experience smoother and more effective, enhancing your vehicle’s appearance without damaging the paint.
Using the Wrong Products on Surfaces
Choosing the right products for every surface in your car is essential. Not all car cleaning products are created equal, and using the wrong one can cause damage. When detailing a vehicle, it is important to match products with specific materials like leather, vinyl, plastic, and fabric to maintain their integrity and appearance.
Common Mistakes:
– All-Purpose Cleaners: While convenient, they might not be safe for delicate surfaces like leather. They can strip away protective oils, leading to cracks and fading.
– Abrasive Cleaners: These can scratch or dull surface finishes, especially on plastic and painted areas.
– Window Cleaners with Ammonia: These are great for household use but can harm tinted windows, causing them to peel or become discolored.
Choosing the Right Products:
– Leather Products: Use professional leather-cleaning products that condition and protect, keeping seats soft and resilient.
– Plastic and Vinyl: Opt for cleaners meant specifically for automotive use, offering UV protection to keep the dashboard and trim from fading.
– Fabric and Carpet: Look for products designed to lift stains and odors without leaving residues that attract more grime.
– Glass Cleaners: Use ammonia-free products for streak-free windows and mirrors without harming tints.
Tips for Safe Cleaning:
1. Read Labels: Always check if the product is safe for the surfaces you intend to clean.
2. Spot Test: Before applying a product widely, test it on a small, out-of-sight area.
3. Use Proper Tools: Make sure to use appropriate sponges, cloths, and brushes for different textures and surfaces.
Using the appropriate cleaning products preserves your car’s interior and exterior, ensuring they look great and last longer.
Ignoring Interior Details That Matter
When detailing a vehicle, the interior is just as important as the exterior. Yet, it can be easy to overlook the small areas that collect the most dirt and grime. Paying attention to these details ensures a clean and comfortable ride.
Areas to Focus On:
– Dashboard and Console: Dust and fingerprints easily accumulate on dashboards and consoles. Use a gentle cleaner and a microfiber cloth to wipe these surfaces, ensuring a streak-free finish. Pay special attention to buttons and knobs, as these often trap dirt.
– Vents: Vents can harbor dust, affecting air quality. Use a small brush or compressed air to clean out the dust and debris, improving both appearance and function.
– Seats and Upholstery: Vacuum seats thoroughly, paying extra attention to crevices where crumbs and debris hide. For fabric seats, using a fabric cleaner can help lift stains. For leather, use a conditioner to prevent cracking and keep the material supple.
– Carpets and Floor Mats: Remove floor mats and give them a good shake and vacuum. Scrub mats and carpets with a carpet cleaner to remove stains and refresh the look.
Tips for Effective Cleaning:
– Organize: Sorting through and organizing the center console, glove compartment, and trunk not only declutters space but also makes cleaning easier.
– Odor Elimination: Address odors by using baking soda or activated charcoal to absorb unwanted smells. Air refreshers can temporarily mask odors, but deep cleaning ensures they’re eliminated.
Ignoring these small but significant details can leave your vehicle feeling less than fresh. By focusing on every nook and cranny, you maintain a vehicle interior that’s as inviting as it is clean.
Rushing Through the Drying Process
Drying is the last important step in both vehicle detailing and cleaning. However, rushing through it can leave water spots, streaks, or even promote mildew growth, especially inside the vehicle.
Importance of Proper Drying:
– Prevents Water Spots: Without thorough drying, water spots can develop on both the exterior and interior of the vehicle. These spots not only look unattractive but can also damage the clear coat over time.
– Avoids Mold Growth: Inside the vehicle, if carpets or upholstery are left damp, mold and mildew can develop, leading to unhealthy air quality and unpleasant odors.
Best Practices for Drying a Vehicle:
1. Use Soft, Absorbent Towels: Microfiber towels work best for drying as they absorb water efficiently and leave no lint or scratches.
2. Work in Sections: Dry your vehicle in sections to ensure no water is left standing. Start from the top and work your way down for efficiency.
3. Open Doors to Ventilate: This helps air circulate, allowing any remaining moisture to evaporate from carpets and seats.
4. Utilize External Air Sources: If available, using a blower or compressed air can speed up the drying process, especially in tricky areas like the mirrors, door jambs, and crevices.
5. Allow Adequate Time: Finally, don’t rush the drying. Leave windows cracked slightly or use fans to promote air circulation if necessary.
Taking the time to dry your vehicle completely can make a huge difference in the overall appearance and prevent problems down the line. Proper drying ensures that all the effort put into cleaning is not wasted.
Conclusion
Paying attention to every step in the cleaning process, from products and methods to drying, ensures that your vehicle stays in excellent condition. Recognizing the importance of each detail can save time and money on repairs or makeovers. By maintaining regular cleaning practices and employing proper techniques, you prolong the car’s life while enhancing your driving experience.
For those who want to ensure their vehicle looks its best, Superior Carpet Cleaning provides comprehensive vehicle detailing services that cover every nook and cranny. Don’t let hidden grime and overlooked details compromise your ride’s comfort; contact us today to learn how we can keep your vehicle spotless and shining!